Simple steps to great photography
Step 1: Create a clear shoot space with good light
Start by creating your perfect product photography environment. Clear the clutter away from a nice, well-lit space positioned near natural daylight. A clean, bright area will ensure your images look clear and crisp.
If you don’t have a suitable space, use a whiteboard as a backdrop. You can pick one up from a hardware or stationary store for around $30. Buy the largest style possible so you have better coverage.
Shooting into direct sunlight will throw shadows across your photographs, so choose a shaded part of the room to work in. If it seems a bit dark, or you’re seeing a blue hue in your pictures, remember you can lighten that effect with filters at the editing stage.
Step 2: Decide on a hero product
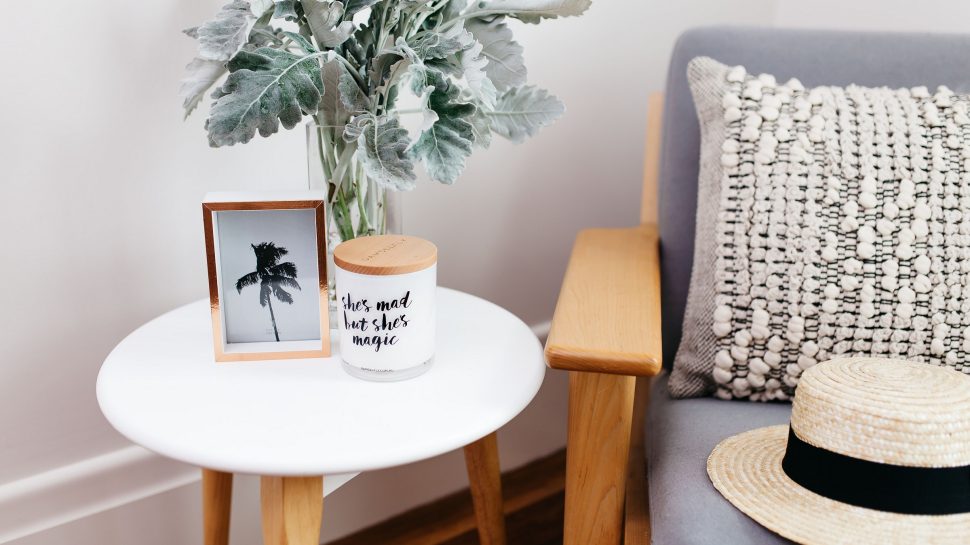
Choose which product is the ‘hero’ of the shot. Here, I created a basic homewares scene with a lounge chair and side table.

If you’re trying to sell a particular item, don’t include too many other products in the shot. If you want to add more pieces to the scene, try using some more of your brand’s items or invest in some affordable furniture to pad out your shots.
Step 3: Practice taking the picture
Once you’ve set up all of your items and you feel that they look balanced, step back with your smartphone camera and check that you’re shooting within a square frame.
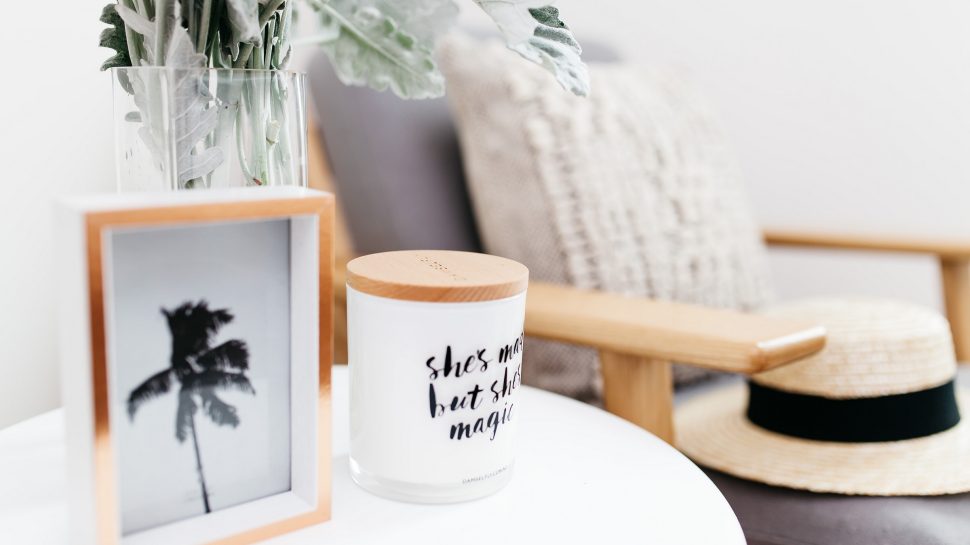
Imagine that your shot can be divided into three sections, and try to keep everything balanced within those thirds of the screen – this will help you to create a nicely aligned focal point. Once you’ve collected a few nice snaps from your first position, use a step ladder to take pictures from above and from different angles.
Review your shots as you go, and delete the ones you don’t like. It will be easier to select the images you want to use if you keep track of your favourite shots as you take them.
Shooting at different angles will give depth to your photographs. Move objects around if you think the picture isn’t quite right, and don’t be concerned about removing items you have in the shot. Less is usually more when it comes to styled photography.

Step 4: Edit your snaps with confidence
Once you’ve selected your favourites, lighten up the photo via your smartphone’s picture editing settings or download a photo editing application. Below are some examples that I like to use:
- Afterlight has 74 unique filters that you can use to help sharpen up your photos. The options assist you to finding a filter that best fits your Instagram look and feel. This application also allows you to adjust contrast, brightness and exposure.
- Facetune is designed to airbrush your fashion photography and is a great app for smoothing skin surfaces, deleting red eye and brightening a backdrop. The whitening tool is very handy for brightening up walls and surfaces which may appear yellow or cream. The trick with Instagram is to make your backgrounds crisp white, so your Instagram feed flows.
When working on your product photography, make it a ritual to sit down and edit your shots after you’ve taken a stack of photos. It can also help to try to choose one filter that you continually use so that your social media gains a level of visual consistency and an aesthetic that’s pleasing to the eye.
Within Instagram, there are some great tools for lightening and brightening pictures. I like to pull the contrast and brightness right up. Have a play around with shadows and highlights to get a quality sharpness to your photographs too.
Step 5: Keep experimenting and sharing your images
After you’ve perfected your own style of product photography, the most important thing is to keep creating new images so that you always have something new to share with your audiences online. Before you know it, you’ll have a beautiful Instagram feed that really reflects your brand aesthetic, and that your followers will love.
Print shipping labels, book parcel pickups, track items and more with MyPost Business.
Get business stories, ideas and offers in your inbox each month.


